WooCommerce
Overview
Our WooCommerce plugin is the perfect extension to enable the Nexi XPay checkout to its full potential for your WooCommerce store. Nexi XPay checkout supports most popular payment methods.
The Nexi XPay payment extension for WooCommerce, allows you to integrate the XPay payment gateway without further implementations on your site.
It manages the transfer of the customer from your E-commerce site to the Nexi secure environment and vice versa.
The customer stays on your E-commerce site until checkout, then is redirected to the XPay gateway to make the payment.
To use this plugin it is necessary that the WOOCOMMERCE module is installed on the Wordpress site.
Shop features
- The fast checkout with OneClick functionality.
- It is redirected to the Nexi environment to make the payment and then returns to the merchant's website at the end of the transaction.
- A smart mix of payment methods to suit all preferences.
- Recurring Payments supported with WooCommerce Subscription
- Supported currencies: please see in the following link all the supported currencies
- The option to show each payment method as separate option, before loading the checkout.
- Supported languages: The Nexi XPay checkout is automatically displayed in the same language used on your store.
Administration portal features
- Quick setup and flexible configuration.
- Intuitive order management with synchronized captures and refunds.
- Compatibility with discounts, tax (VAT), and shipping options.
- Compatibility with WooCommerce Subscriptions
The screenshot below shows the Settings page in the WooCommerce administration portal:

Installation
The Nexi XPay plugin for Wordpress is available for free at the Nexi plugin, from which you can check compatible versions.
It is possible to install the extension through the special installer made available by Wordpress.
- Log in to the Wordpress admin panel.
- Make sure you have the Woocommerce plugin installed.
- In the left navigation bar, select Plugins > Add New.
- On the new page, enter Nexi XPay in the search bar.
- Locate the XPTA plugin and click Install Now.
The installation phase is complete, proceed with the configuration.
Configuration
Here are the indications to correctly configure the Nexi XPay plugin:
- Log in to the Wordpress admin panel.
- In the left navigation bar, select Installed Plugins > Plugins.
- On the new page, look for the Nexi XPay plugin in the list and click Settings.
- Proceed with the configuration of the module.
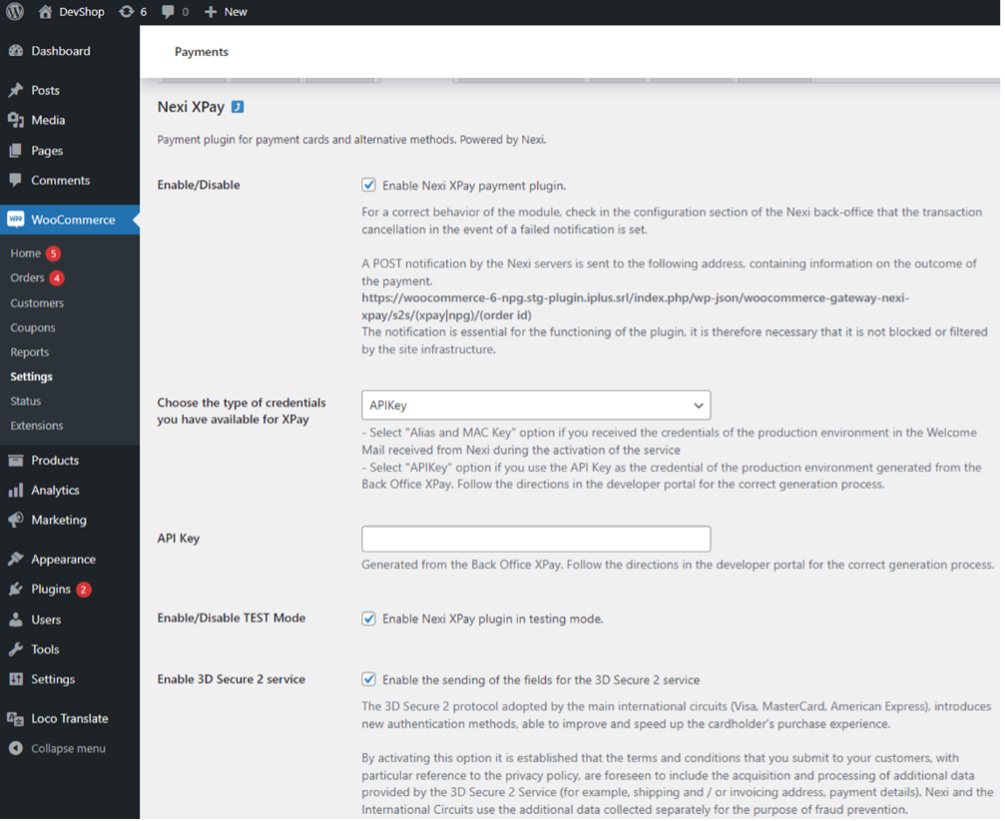
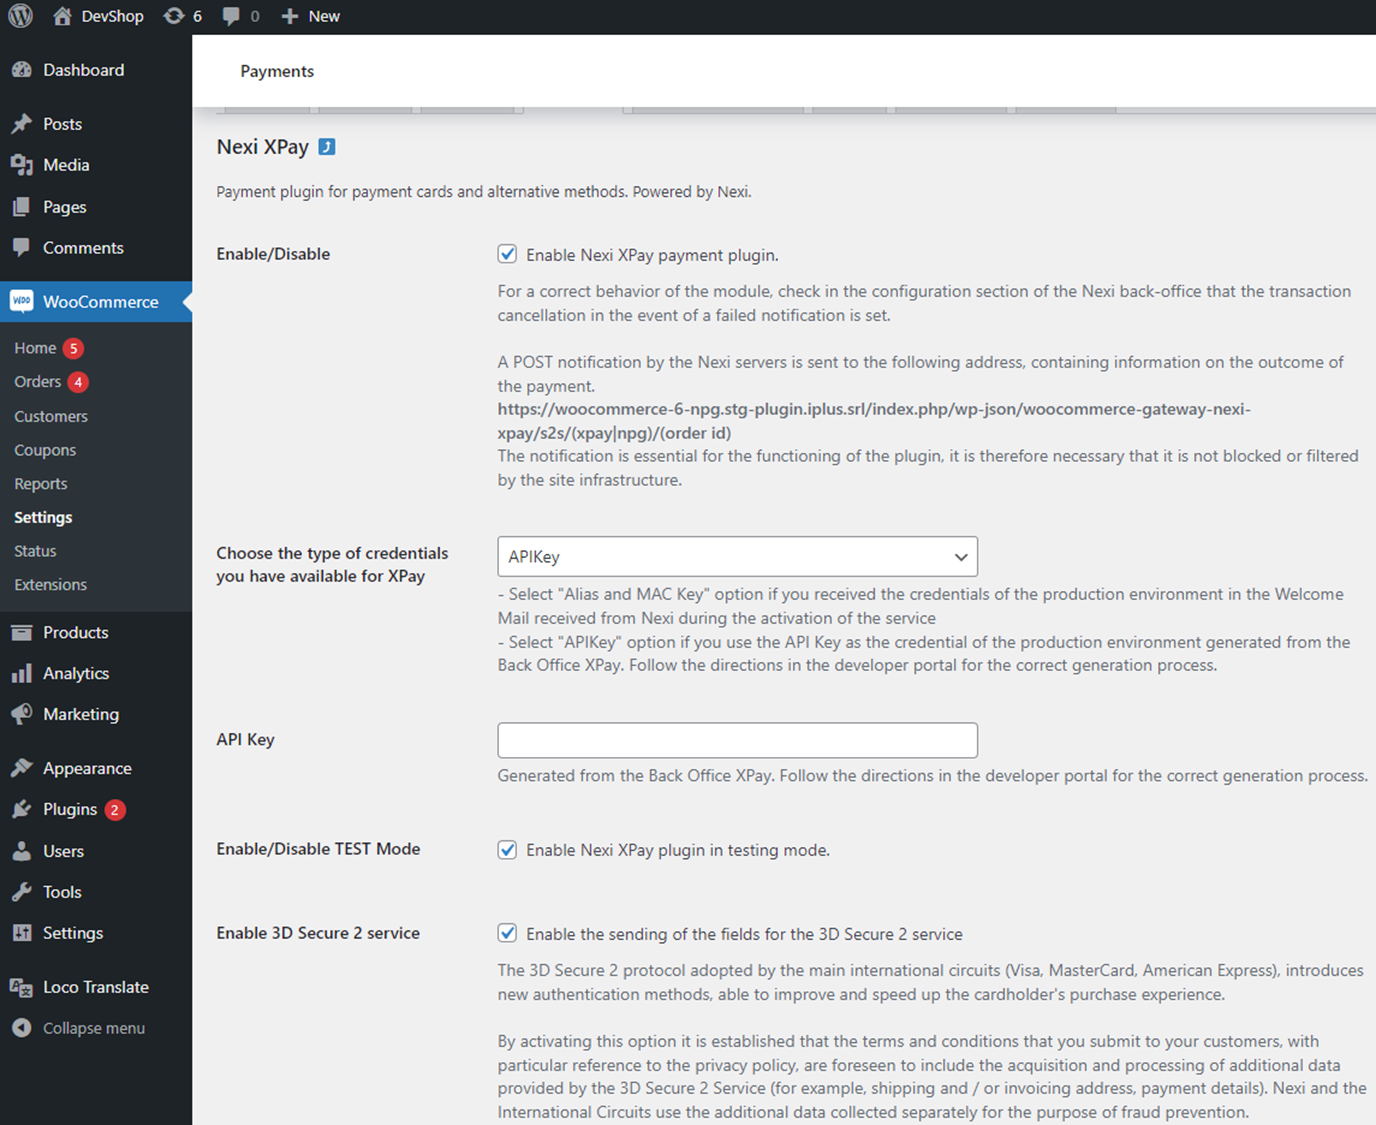
The screenshot below shows the configuration page for the module:

Congratulations! You have now installed and configured the Nexi XPay checkout webshop module. If you have further questions, please see Support page.
| Configuration | Description |
|---|---|
| Enable/Disable | Enable the Nexi XPay payment module. |
| Typology | Select API Key. |
| API Key | Code required for communication with the XPay gateway. To obtain this data for the production or test environment, follow the instructions in the following paragraph Test and production. |
| Enable/Disable TEST mode | Enable or disable test mode. Register in the test area to receive your credentials. Test credentials can be found in the Test area section. |
| Enable the 3D Secure 2 service | The new 3D Secure 2.0 protocol adopted by the main international circuits (Visa, MasterCard, American Express), introduces new authentication methods, capable of improving and speeding up the cardholder's shopping experience. |
Test and production
It is highly recommended to test the plugin in a test environment, before entering the production codes.
You can get your test credentials (API Key) in the test environment. In the area there will also be test cards that can be used to execute successful and negative transactions. At this stage it is necessary to verify that the orders are created correctly, also checking the details of the orders.
Transition to production
To carry out the transition to production it is necessary to create the production credentials (API Key). To generate the new credentials follow these steps:
- Waiting for Onboarding email for the service in order to reset the password that has been sent via mail to the merchant, in order to access for the first time on the merchant Back office.
- Sign in to the XPay merchant Back office.
- In the Settings section, click on API Key.
- Click on Generate new API Key.
- Once the terminal has been selected, click on Add to generate the production API Key.
Once the API Key has been created, the module configuration must be updated as below:
- Log into the Wordpress administrative panel.
- In the left navigation bar, select Plugins > Installed plugins.
- On the new page look for the Nexi XPay plugin in the list and click on Settings.
- Disable the TEST mode and enter the API Key generated on merchant Back office.
- Save the new configuration.
It is advisable to carry out a proof of payment with a real card with the transition to production.
Payment methods
Recurring payment
This solution allows you to purchase products with recurring charges (e.g. subscriptions).
During the first payment, a token is assigned that allows Nexi to save the match between the user and the payment card used.
Subsequent payments will be made automatically on the date set in the subscription product settings.
To use this mode you need to install the Woocommerce Subscription plugin.
Pay-By-Link
This solution involves generating a Woocommerce side order, selecting the appropriate products and the customer who wants to make the purchase.
An email will be sent to the customer containing a link to make the payment. The customer will be redirected to the checkout page of the E-commerce site.
Back office functions
In the details of each order, the plugin provides information relating to transactions such as the details of the card used and the status of payments on the XPay gateway.
Refund
It is possible to perform total or partial refund operations. This operation will reverse the desired amount by refunding the customer and changing the status of the Woocommerce order. Here are the steps to do:
- Log in to the Wordpress admin panel.
- In the left navigation bar, select Woocommerce > Orders.
- Click on the order to be refunded.
- In the Product section, click on the Refund button and select the products to be refunded.
Accounting
It is possible to perform total or partial accounting operations. This will account for the desired amount on the XPTA gateway.
By default the accounting takes place automatically at midnight, use this option only in case of non-standard configurations of the terminal.
Here are the steps to do:
- Log in to the Wordpress admin panel.
- In the left navigation bar, select Woocommerce > Orders.
- Click on the order to be accounted for.
- In the XPTA Payment Details section, enter the amount to be reversed and click the Accounting button.