How create and deploy a customized payment window design
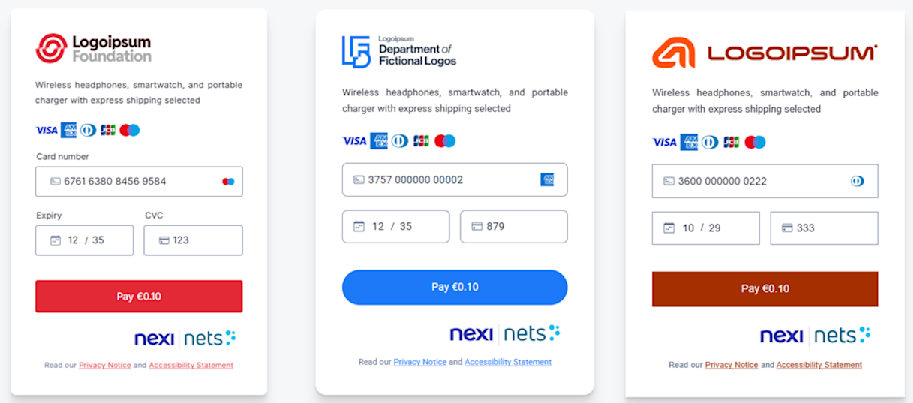
Examples of custom design and branding with example logos

Introduction
Version 2 of the Netaxept payment window provides customization features that makes it possible to add a company logo, change highlight color, and also adjust the format and fonts.
Video tutorial
This video illustrates how to create a custom design and deploy it to production using the Netaxept Admin and the payment page design page. Video tutorial on how to create a payment window custom design
Below you can find a textual description of the steps involved in creating or changing a customized template for your Netaxept Payment Window.
Customizing the payment page in the designer tool
Here are the steps of how to create a design for your payment window.
- Login in to the Netaxept admin portal.
- Select the meny alternative Options - Configure your application.
- Select the tab Terminal.
- Select the tab Template design.
- Select the tab Version 2.
- If you have no templates, select Add Customization and name it.
- Select one of your templates, click its option Preview to get redirected to the design tool.
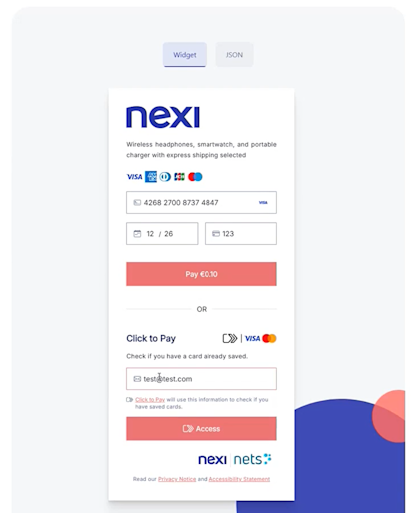
- On the design page, add a link to a logotype.
- Pick a color for highlights, e.g. buttons and fields. You can specify your own color.'
- Select other, additional design options, e.g. fonts, input fields.
Enabling your design in production
When you are satisfied with how the design looks in the design tool, it is time to make it ready for production by going through these steps:
- Click on the JSON tab above the preview of your payment window.
- Copy the JSON code.
- Go to the Netaxept Admin window (Options__=>__ Terminal => Template design => Version 2).
- Either select an existing customization template and click Edit or create a new by Clicking Add Customization.
- Paste the JSON code in the JSON textbox of the custom template.
- Click Save.
- Click on Activate for the template.
- Your changes should now be live in production.
Watch the tutorial video
