Checkout for Shopify
This guide describes how to install, configure, and use the Checkout app integration for Shopify.
Before you start
Before you start, you need an Checkout Portal account. See the guide Create account for more information about creating a free test account.
Install Checkout App
Overview
Checkout for Shopify is an app that extends our gateway integration and enables you to accept payments in Shopify with Checkout. Checkout supports most popular payment methods.
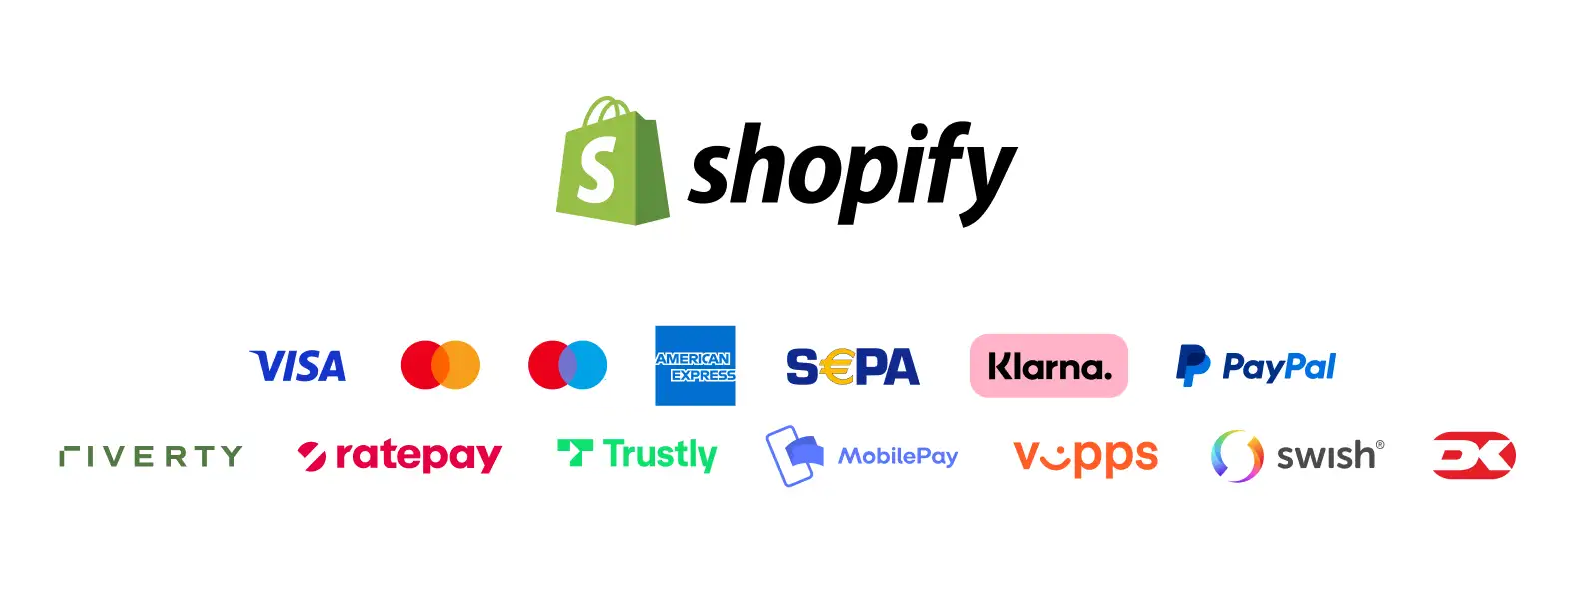
You may see below all the payment methods offered by Checkout. This list refers to all markets.
Depending on your country or region, the list may vary. If you are uncertain about a specific payment method and whether it is available in your country or region, please contact Support for more information.
Shop features
- The fast checkout with "remember me" functionality.
- Preferred payment methods.
- Supported currencies (one per shop): EUR, DKK, SEK, NOK, CHF, USD, GBP, PLN.
- Supported languages: German, English, Danish, Swedish, Norwegian, Finnish, Italian, French, Spanish.
The following screenshot shows a checkout page provided by the Checkout app:

Admin features
- Quick setup and flexible configuration.
- Intuitive order management with synchronized captures and refunds.
- Compatibility with discounts, tax (VAT), and shipping options.
- Multi-store support (same currency).
- Auto-charge/capture possible for digital goods.
- Automated extension updates, no action required.
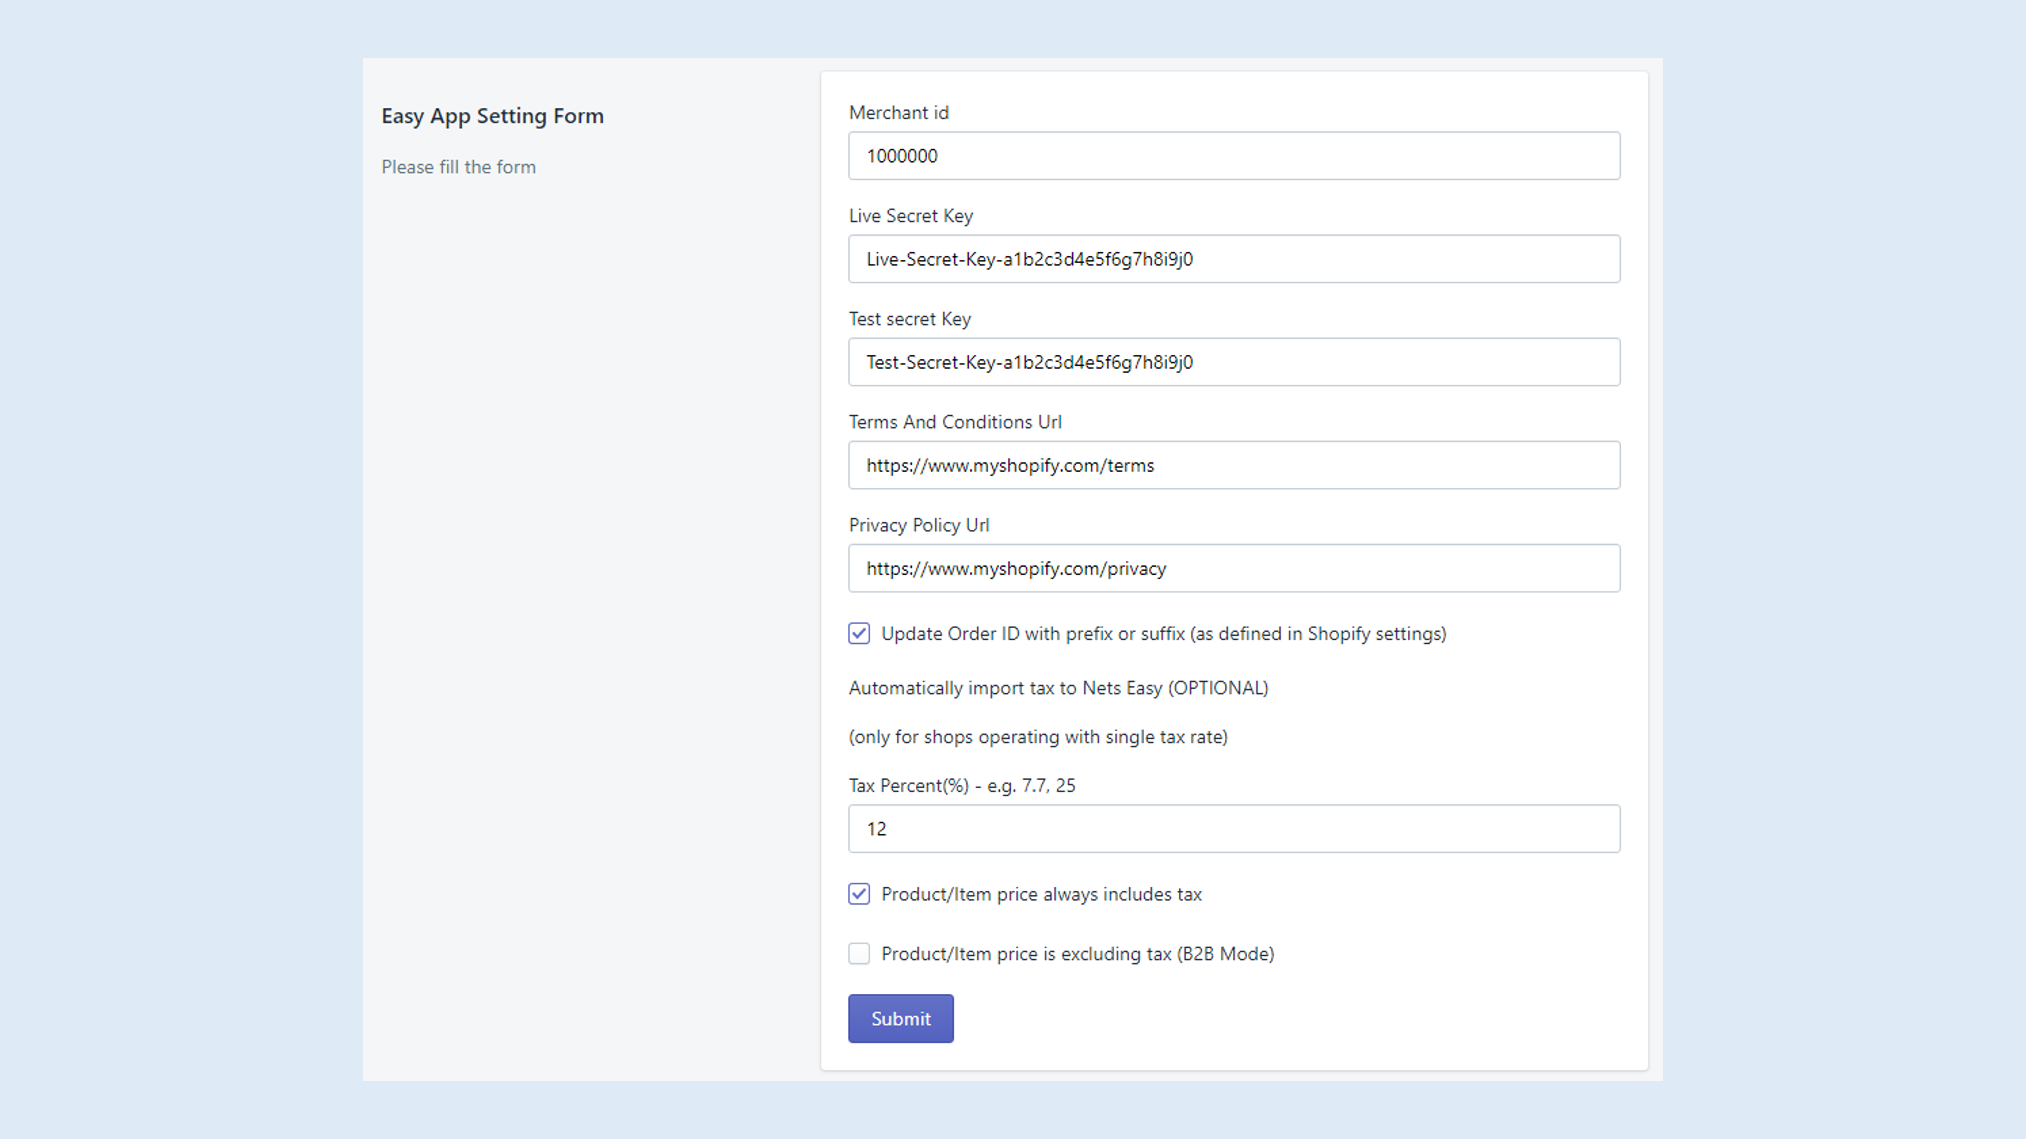
The screenshot below shows the Checkout app settings:
Installation
By following the steps below, you will be able to integrate Checkout payment in your Shopify store:
Option 1 - Direct installation
- Go to https://apps.shopify.com/nexi-checkout
- Select your Shopify store and follow installation steps
Option 2 - Via Shopify admin
- In shopify admin, go to shop admin Settings -> Payments -> Supported Payment Methods -> Search by provider
- Enter "Checkout" in the search bar and select.
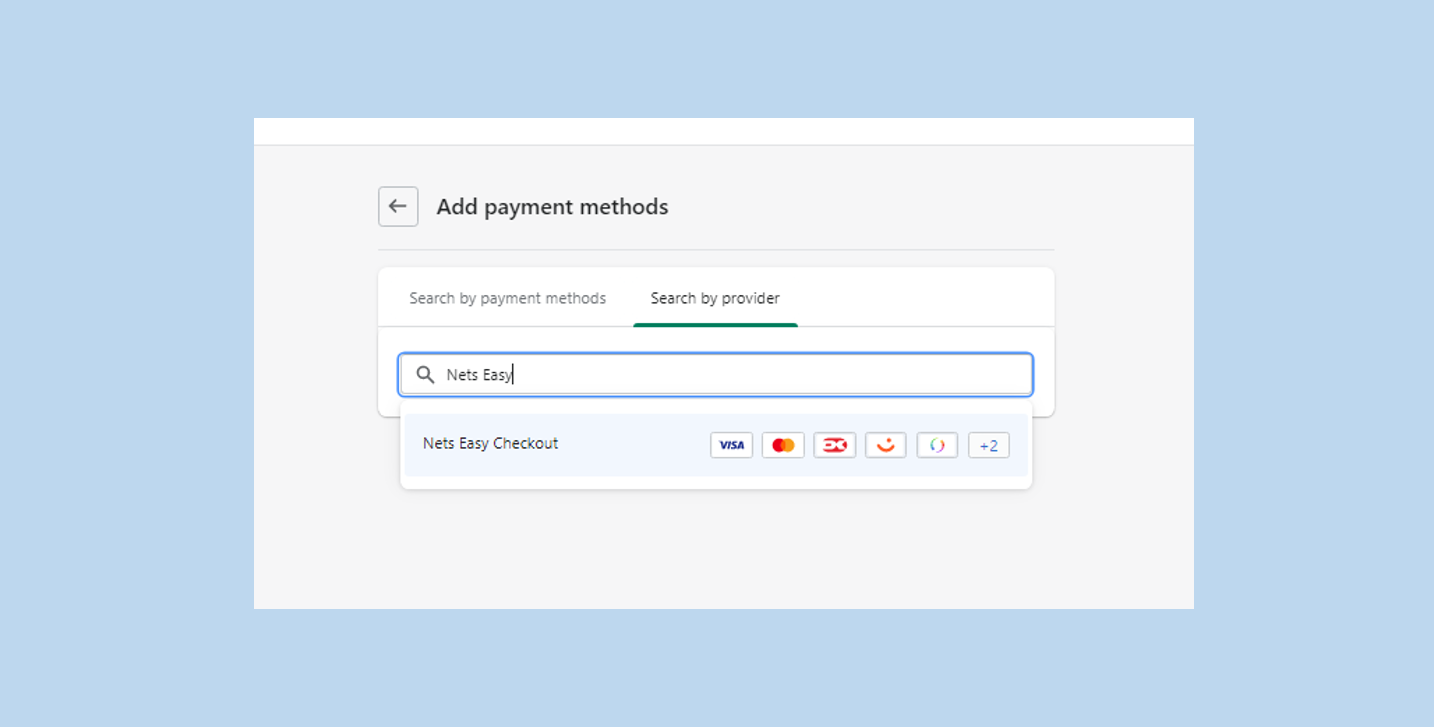
After completing this first step, you should now be on the Checkout app settings page. Otherwise, navigate to Apps > Checkout.
- Enter your integration keys and the merchant ID.
- Add your Terms & conditions URL.
Important Both the merchant ID and the integration keys can be found in Checkout Portal. See the following pages for more help:
Basic Configuration
After installing and activating the app, you can always go back and reconfigure the Checkout app from Shopify Admin. The configuration is split into two parts:
- Payment Gateway settings (located under Settings > Payments > Supported Payment Methods > Checkout is Active) enables you to activate payment/deactivate the payment gateway, activate payment methods, and toggle between live and test mode.
- If you want to change any of the configuration settings specifically like terms url or merchant terms url then clicking on Manage will redirect you to app settings page (located in Settings > Payments > Supported Payment Methods > Checkout is Active > Manage
App settings
To configure the Checkout app settings, go to Apps > Checkout.
The following table lists all the settings you can configure under app settings:
| Configuration settings | Description |
|---|---|
| Merchant id | Your merchant ID which can be found in Checkout Portal. |
| Live Secret Key | Your live secret key from Checkout Portal. |
| Test Secret Key | Your secret key for test purchases from Checkout Portal. Test mode can be enabled under Payment gateway settings, see below. |
| Terms & Conditions url | The URL to the terms and conditions of your webshop. |
| Privacy policy url | The URL to the privacy and cookie settings of your webshop. |
| Update order ID with prefix or suffix | Tick the box to import your orderID accordingly. |
Language settings
To select the Checkout language:
- Navigate to the Shopify menu to Settings > Checkout >.
- Scroll down to Checkout language.
- Click on Manage checkout language > Save.
Advanced configuration - Optional
Synchronize Order ID
The default configuration setting generates a randomized order ID in Checkout for each order. To synchronize the Shopify order ID, do the following:
- From your Shopify admin, go to Settings > Notifications.
- Scroll down to the Webhooks section.
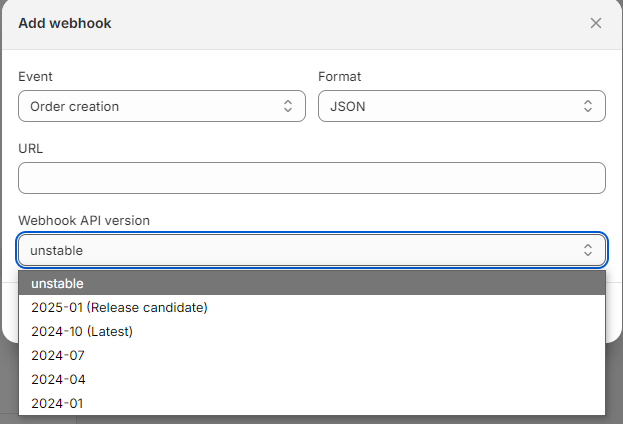
- Click the Create webhook button A new window should appear.
- Then enter information as below:
| Field | Content |
|---|---|
| Event | Order creation |
| Format | JSON |
| URL | https://shopifywebhooks.connect.easy.nets.eu/order |
| Webhook API version | 2024-10 |
App settings – Import tax (VAT) amount in Checkout
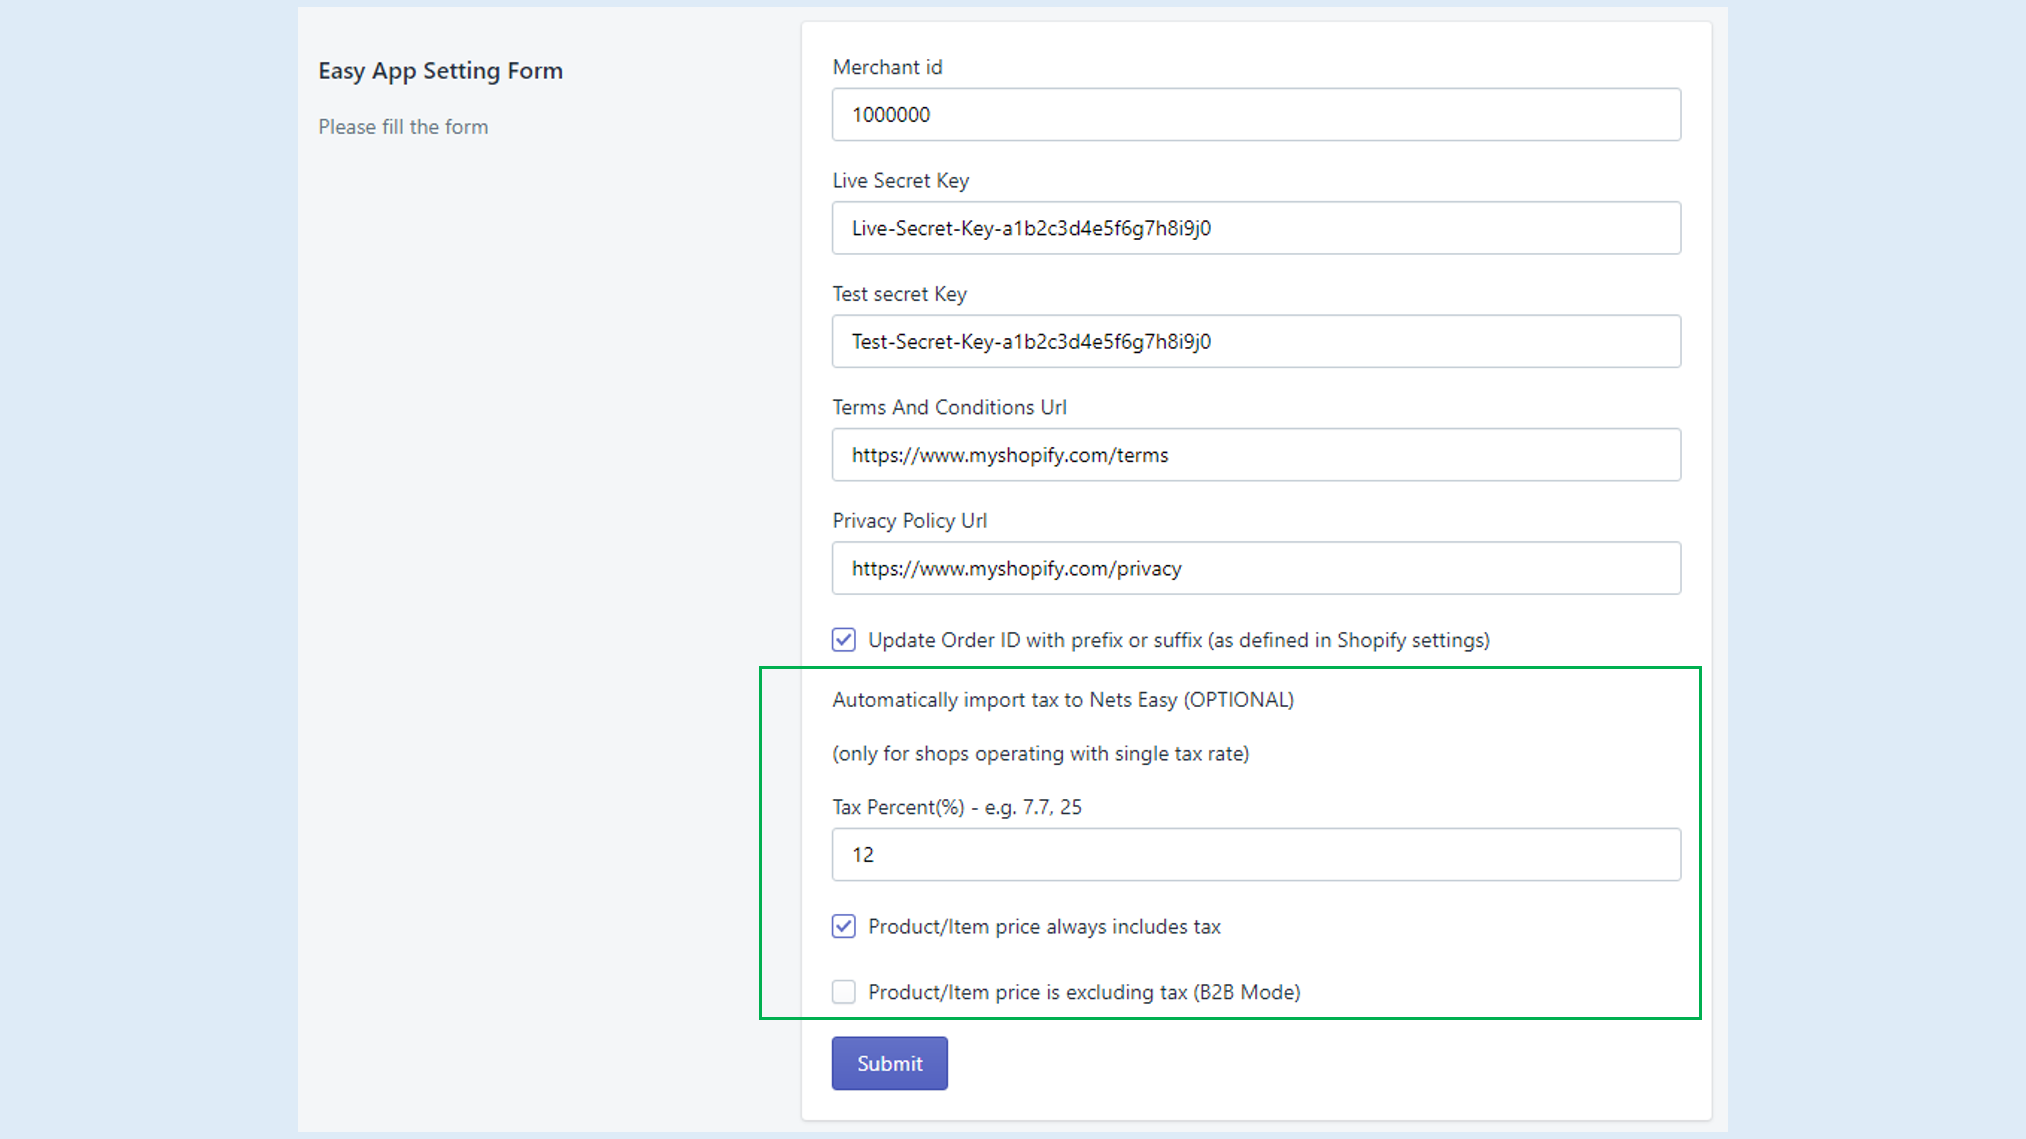
The default configuration settings do not import tax rate and tax amount in Checkout. It is possible to add a default tax rate and apply it to purchase items as well as shipping/discount amounts. To do this:
- From Shopify admin, go to Apps > Checkout > App settings
- Set tax rate (%) with the value for your shop (e.g 7.7 or 25).
- Then tick the checkbox corresponding to your case: “Product/item price includes tax" or "Product/item price is excluding tax. (B2B mode)" if you are displaying net prices. Checkout will automatically calculate the set tax rate accordingly. It will be displayed in Checkout portal and in your report.
Payment method configuration
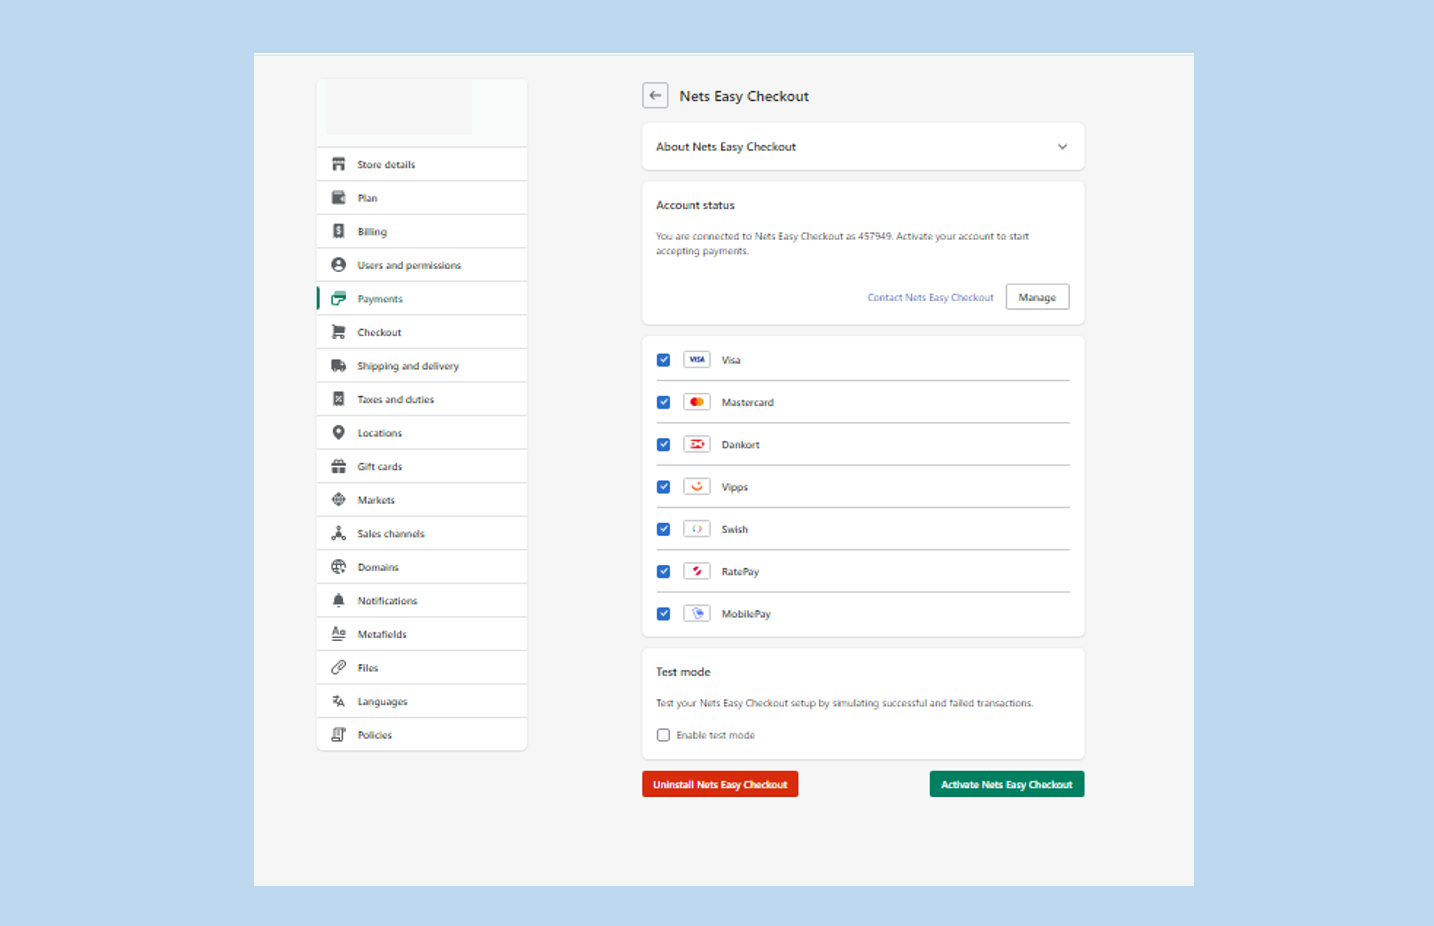
You can modify which payment methods icons get displayed in your store. For this, go to Payment Methods pages in your Shopify Admin settings.
Order management
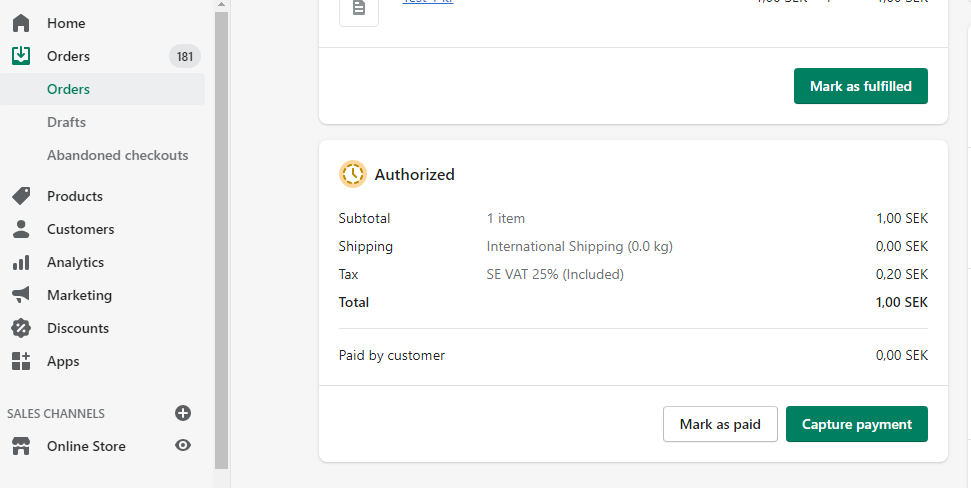
It's possible to manage orders directly in Shopify admin:
- Navigate to Orders in Shopify admin.
- Click on an order line to access order details.
- Choose the Capture or Refund payment option. The Checkout app will synchronize automatically. The payment status will also be updated in Checkout Portal.
• In Shopify Admin > Payments settings it is possible to select either auto-capture (default) or manual capture. In that case, even order paid wit instant payment methods like Swish, Trusltly or Sofort will required manual capture.
• It might take a little while (less than 1 minute) for order status to be updated.
• It is possible to process partial or full refund is as applicable.
• It is only possible to process partial/full capture once.
• Abandoned/non-completed checkouts via Checkout can be re-initialized through shopify admin portal, notifying customer with cart recovery email. (located in Order > Abandoned Checkout).
Troubleshooting
Important notice
In Shopify admin, a payment can be flagged with pending status, look for this transaction in the Checkout portal. If it is indicated as "charged" in the Checkout portal, then you can mark the order as "paid" in Shopify admin.
To accept PayPal, Apple Pay or Google Pay you must use the specific app provided by Shopify. You cannot accept those payments with Checkout as per Shopify rules.
Below are some of the most common configuration errors, their cause and steps that you can follow to solve them.
Checkout is not visible as a payment method
- Ensure the Checkout is available and activated in the Shopify store under Settings > Payment > Checkout.
- Make sure you have configured the Payment gateway correctly.
Nexi Group payment window is blank
- Ensure your integration keys in the Nexi Group plugin settings are correct and do not contain additional blank spaces.
- Temporarily deactivate third party plugins that might affect the functionality of the plugin.
- Check if there are any temporary technical inconsistencies: https://nets.eu/Pages/operational-status.aspx
Payments in live mode don't work
- Ensure you have an approved Live Checkout account for production.
- Ensure your Live Checkout account is approved for payments with the selected currency.
- Ensure payment method data is correct and supported by your Checkout agreement.
Go live checklist
For more information, refer to the section Go-live checklist.