Express buttons in product page
Express button
Express button
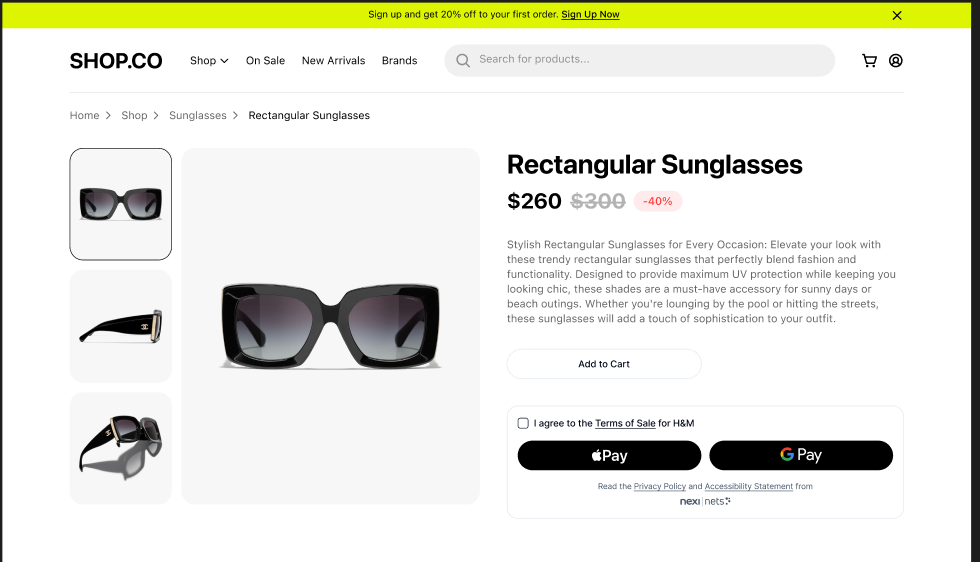
You can place an express button for Applepay or Googlepay anywhere on your product page. The express button enables your customer to pay directly on the product page without going to the checkout.
How does it work
Express is a simplified, embeddable payment experience that relies on the same backend integration as Easy Checkout. You can reuse your existing payment creation logic - the difference is only on the frontend, where you load and render the Express widget.
By adding two lines in the frontend you can display the Express button anywhere you want on your product page.
We pass in the checkoutKey, language, paymentId, and the ID of the container where express should render.
Backend integration
Backend integration is similar to the regular Easy Checkout embedded flow.
- You create a payment the same way.
- You update payment details via the same backend API.
- No additional endpoints or configuration layers are needed.
- integrationType should be set to 'Express'
Express simply consumes the same paymentId.
Frontend integration
1. Load the SDK
Load the Easy SDK file exactly as you would for a standard checkout.
| Environment | JavaScript URL |
|---|---|
| Test | https://test.checkout.dibspayment.eu/express/sdk.js |
| Live | https://checkout.dibspayment.eu/express/sdk.js |
2. Initialize Easy
code
const easy = Easy({
checkoutKey: '<YOUR_CHECKOUT_KEY>',
language: "en-GB",
});
3. Render the Express Widget
code
const widget = easy.renderExpress({
  paymentId: '<YOUR_PAYMENT_ID>',
  containerId: '<container-div>'
});
Parameters
| Parameter | Description |
|---|---|
checkoutKey | Public key required to initialize the SDK. |
language | ISO language code (e.g., en-GB). |
paymentId | The ID of the previously created payment. |
containerId | The ID of the DOM element where Express should render. |
Events
paymentcompleted
Triggered when the payment completes successfully.
code
widget.on('paymentcompleted', (payload) => {
  console.log('Payment completed:', payload);
});
shippingaddresschange
Triggered when the user updates their shipping address in the Express widget.
code
widget.on('shippingaddresschange', (payload) => {
  console.log('Shipping address changed:', payload);
});
The event handler receives a payload object with the following structure:
code
{
  shippingAddress: {
    postalCode: string;
    country: string; // A three-letter country code (ISO 3166-1)
  };
}
shippingAddress.postalCode– postal / ZIP code entered by the customershippingAddress.country– three-letter country code (ISO 3166-1)
You should use this data to:
- Recalculate the cost (e.g. shipping, taxes, surcharges) based on the new address.
- Update the payment by sending a request to your backend (which will call our API, same as for regular checkout).
- Refresh the widget to pull the latest payment details.
A typical flow might look like this:
code
widget.on('shippingaddresschange', async (payload) => {
  const { shippingAddress } = payload;

  // 1. Recalculate costs on your backend and call payment api

  // 2. Pull the latest payment data from the backend and refresh the widget
  widget.update();
});
Updating payment details
Express supports backend-driven updates.
- Update the payment via the backend API (same endpoint as for regular Easy Checkout).
- Pull fresh data in the frontend:
code
widget.update();
This reloads the latest payment state from your backend.