Checkout for PrestaShop v 2.0
This guide describes how to install, configure, and use the Checkout webshop module for PrestaShop.
Before you start
Important
Before you start, you need a Checkout Portal account. Please refer to the guide:
Presta Shop Source
Presta Shop Marketplace
Overview
Our PrestaShop plugin is the perfect extension to enable Nexi Checkout to its full potential for your store. PrestaShop supports the most popular payment methods.
You can see below all the payment methods offered by Nexi Checkout. This list refers to all markets.
Depending on your country or region, the list may vary. If you are uncertain about a specific payment method and whether it is available in your country or region, please contact Support for more information.


Apple Pay configuration for PrestaShop plugin is described on the Apple Pay payment method page.
Main Capabilities
- Hosted and Embedded checkout flows
- Test and Live mode configuration
- Multi-store support
- Automatic webhook synchronisation of payment events
- Capture, partial capture, refund, partial refund and cancel actions from order admin
- Payment method splitting (show one combined Nexi option or separate payment options


Alternatively, merchants can use the setting Payment Method Split to change the UI. When activated the UI shows the following:


This setting is especially recommended if you use other payment providers/payment options outside the Checkout, so that all payment methods are visible right away.
Administration area features
- Quick setup and flexible configuration.
- Intuitive order management with synchronized captures and refunds.
- Compatibility with discounts, tax (VAT), and shipping options.
- Compatible with PrestaShop multistore feature for managing multiple shops.
- Latest plugin version notification with compatibility, github and techsite link.
Installation
Use one of the methods below
Option A: Install from a release package
- Download the module release package
- In Presta Shop admin, open Modules > Module Manager
- Upload and install the module package
Option B: Install from source (GitHub)
- Connect with an SSH client and navigate to the root directory of your Presta Shop installation.
- Clone this repository into the modules directory: git clone modules/nexi_checkout
- Install PHP dependencies for the module: cd modules/nexi checkout composer install --no-dev -o
- In Presta Shop Amin, go to Modules > Module Manager
- Find Nexi Checkout and click Install (or Enable)
The module is now installed and ready to be configured for your Checkout account.
Configuration
After installing the module, you need to do some basic configuration of the module:
- Go to Modules > Module Manager.
- Find Nexi Checkout and click Install, once the module is installed click Configure.
- Fill all required text fields, and change default values of other fields if needed. Live and test keys can be found in Nexi Checkout Portal -> Integrations.
- Live secret key
- Live checkout key
- Test secret key
- Test checkout key
- Enable auto-charge
- Enable live mode
- Checkout flow
- Payment method splitting
- Payment Methods
- Terms URL (must start with https://)
- Cookie Terms URL
- Webhook Secret Code
Save configuration
Both integration keys can be found in the Checkout Portal. See the following pages for more help The integration keys can be found in Checkout Portal. See the following pages for more help:
The screenshot below shows the configuration page in the administration area for the module:


The following table lists all the settings you can configure in the administration area for the Checkout module:
| Configuration setting | Description |
|---|---|
| Live secret key | Your live secret key from Checkout Portal. |
| Live checkout key | Your live checkout key from Checkout Portal. |
| Test secret key | Your secret key for test purchases from Checkout Portal. |
| Test checkout key | Your checkout key for test purchases from Checkout Portal. |
| Enable auto-charge | Yes or No |
| Enable live mode | Choose test mode if you want to make test purchases using the test environment. There are sample card numbers and invoice addresses for testing purposes. Live mode requires an approved account. |
| Checkout flow | Embedded or Hosted. An embedded checkout inserts the payment window directly on the checkout page. Redirect (Nexi Group Hosted) loads a new payment page. |
| Payment method splitting | Yes or No |
| Payment Methods | Configure which payment methods are available and their display order (onlyb active when payment method splitting is enabled) |
| Terms Url | Selects the page containing your Terms and Conditions. |
| Cookie Terms Url | Selects the page containing Merchant Terms and Conditions. |
| Webhook Secret Code | Secret code used to authorise webhook calls (this can be left as it is as we prefill it with a random code. Alternatively, you can input a random string between 8 and 24 alpha numeric characters.) |
Congratulations!
You've now installed and configured the Checkout webshop module. If you have further questions, please see the troubleshooting section below or reach out to our support.
Order Management
Order management
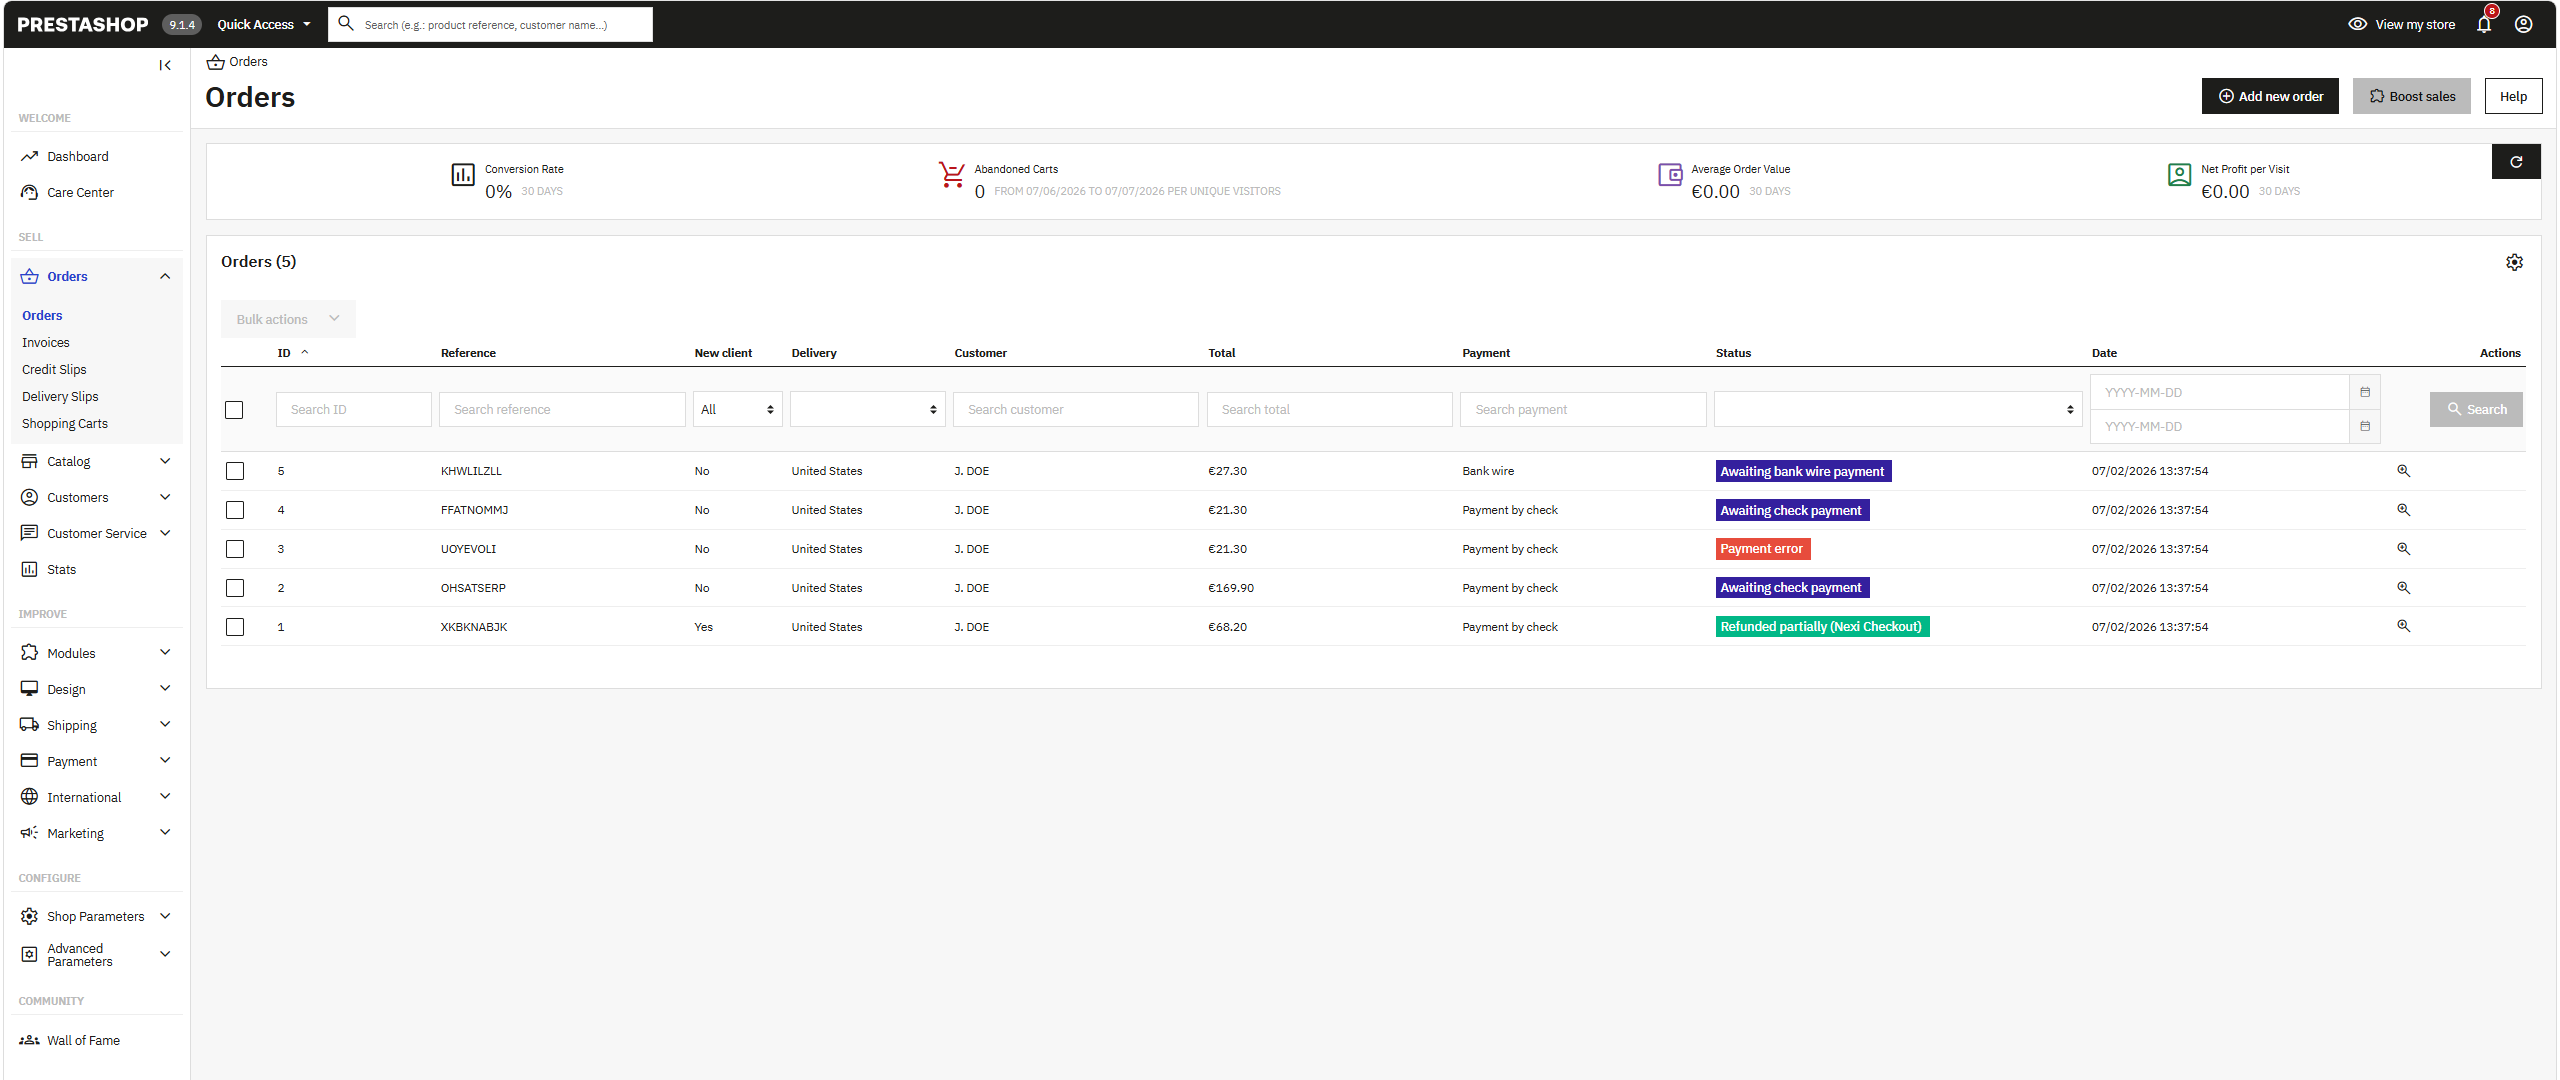
It's possible to manage orders directly in the PrestaShop administration area:
- Navigate to SELL > Orders in PrestaShop.
- Click on an order line to access order details.
- Choose your desired action.
- Click Charge All or click the Charge button for partial charge.
- Click Refund All or click the Refund button for partial refund.
- Click Cancel to cancel the payment. Checkout plugin will synchronize automatically. The payment status will also be updated in Checkout portal.
- For information - All transactions performed by Nexi Group are accessible in Checkout Portal.
The following screenshot shows the list of orders in the PrestaShop administration area:
Bulk Capture
Bulk capture lets an administrator fully capture multiple reserved Nexi payments from the PrestaShop order list. A maximum of 20 orders can be processed in one bulk action.
Eligible payments
An order is eligible when:
- It is associated with a Nexi Checkout payment.
- Its PrestaShop status is Payment Accepted (Nexi Checkout).
- The Nexi payment status is Reserved.
- The order belongs to the current PrestaShop shop context.
- Orders with any other PrestaShop or Nexi payment status are skipped and reported as not eligible.
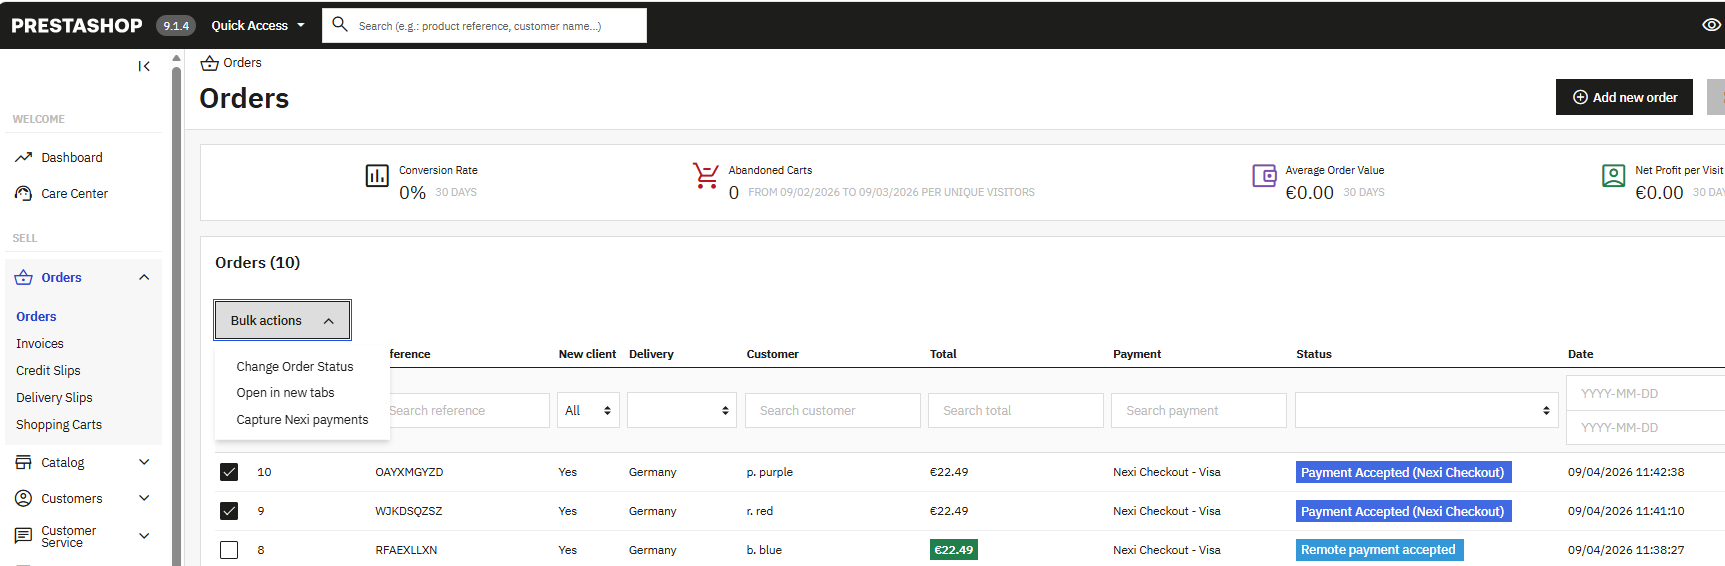
Submit a bulk capture
- In PrestaShop Admin, go to Orders > Orders.
- Select up to 20 orders using the checkboxes in the order list.
- Open the Bulk actions menu and select Capture Nexi payments.
- Confirm the operation.
The operation runs synchronously and continues processing the selection if an individual order cannot be captured. After processing, PrestaShop displays separate notices for submitted, skipped, and failed orders. Failed notices include the affected order IDs.
The order status is not changed when the request is submitted. A successful Nexi webhook moves the order to the fully charged status, while a failed request leaves the existing status unchanged.
In a multistore installation, the module uses the Nexi configuration for each order's shop. All selected orders must be accessible from the active shop context.
Payment method splitting
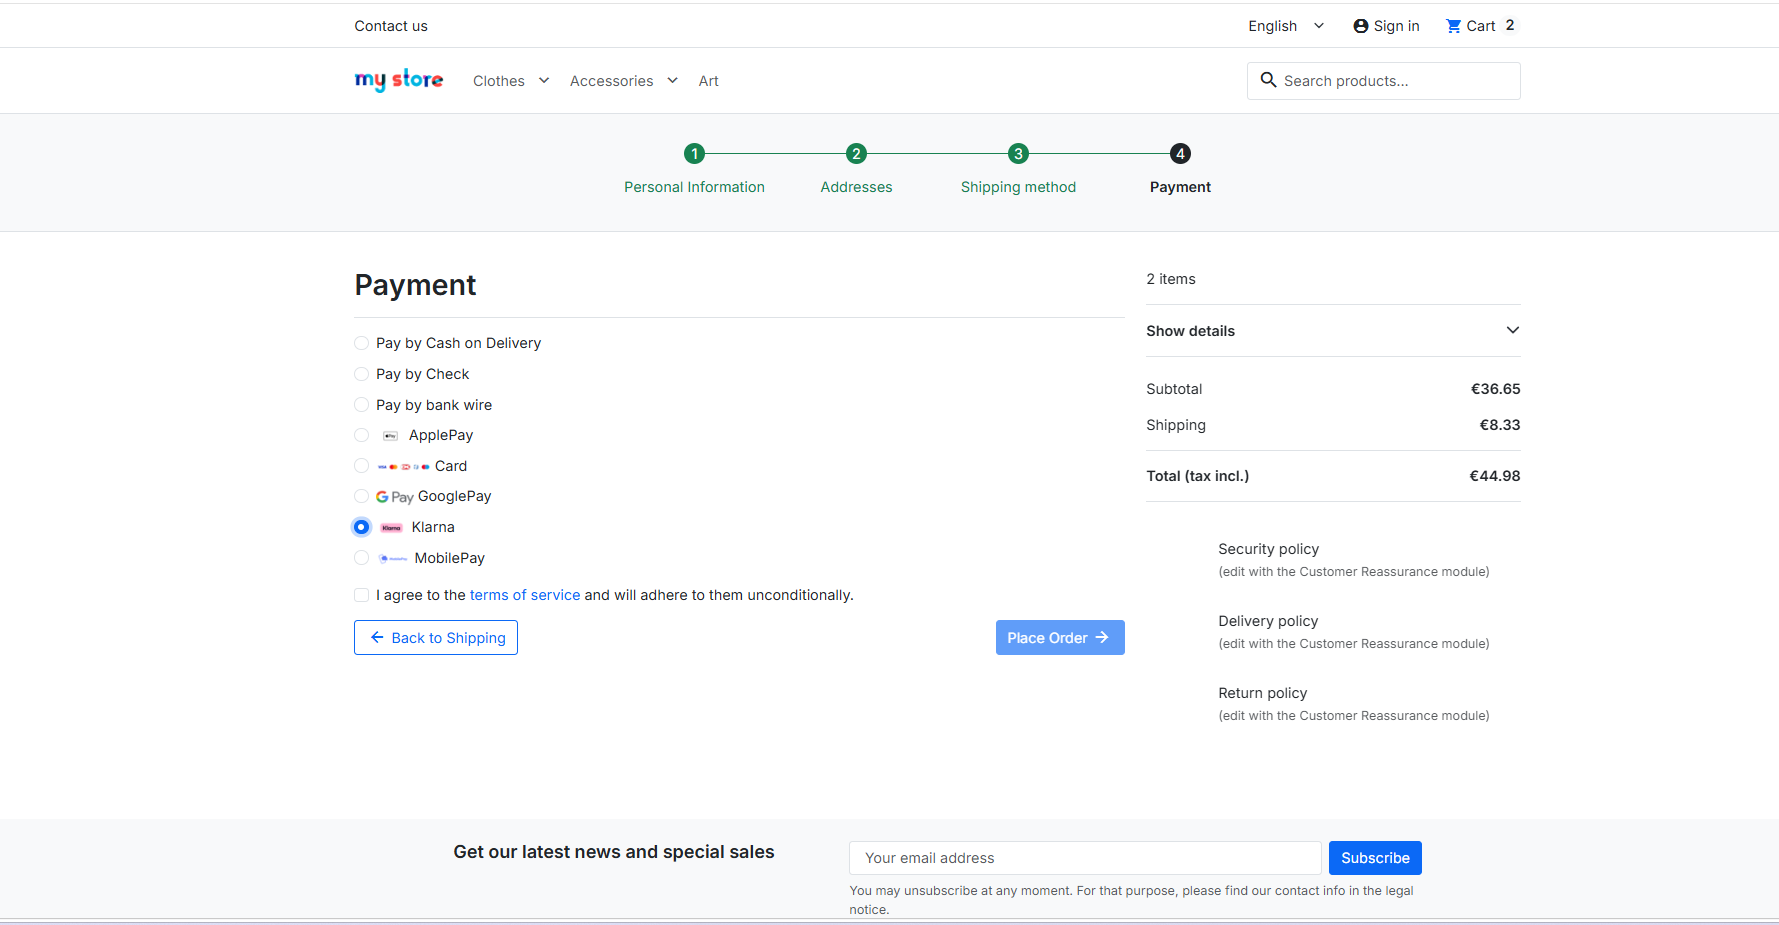
When enabled, each payment method appears as a separate option at checkout. When disabled, all methods are shown in a single Nexi Checkout option.
- On the configuration screen, toggle the Payment method splitting switch to Yes
- Enable and rearrange desired payment methods by dragging and dropping them using the icon on the left (four dots)
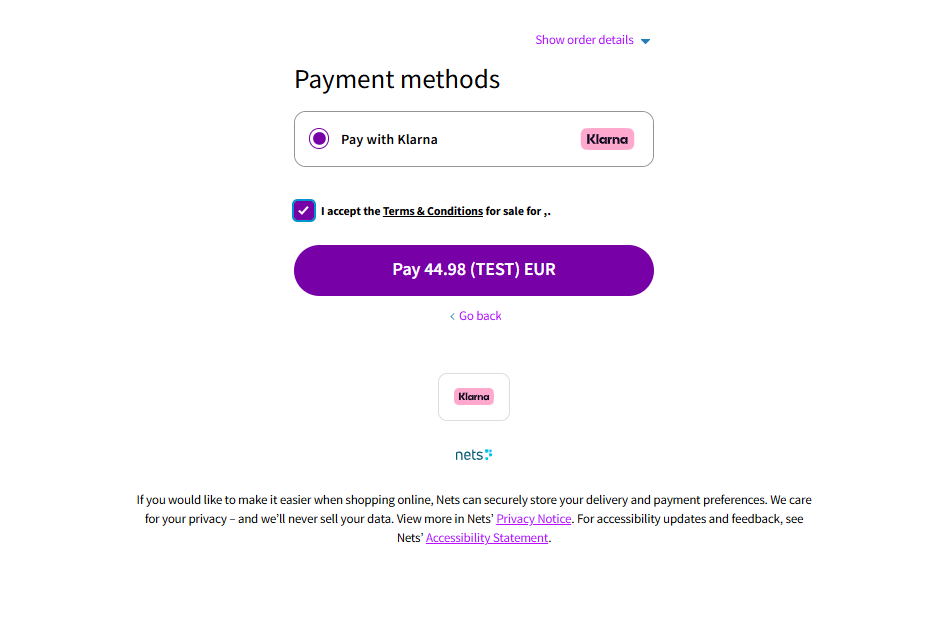
The payment methods will be displayed as below on the checkout page:
Payment method logos
Depending on your setup with this plugin and in case that you have multiple integrations in your checkout besides Checkout, we highly recommend you to toggle the payment method logos.
You can either:
- Download the logos separately
- Get individuals logos in HTML
- Get predefined logo bars
You can check from here to get the logos.
Klarna
For Klarna to appear correctly in the Nexi Group payment window, the customer’s phone number must be collected during checkout.
In PrestaShop, the phone number field is part of the customer address form, but it may not be required by default. To make it required, follow these steps:
- Navigate to Customers > Addresses.
- Click Set required fields for this section button on the bottom left of the page.
- From the list select phone and click on Save.
To learn more, visit the PrestaShop documentation.
Troubleshooting
Below are some of the most common configuration errors, their cause and steps that you can follow to solve them.
Checkout payment plugin is not visible as a payment method
- Temporarily switch to the PrestaShop standard template. Custom templates might need additional changes to display correctly. Consult with your web designer or developer.
Nexi Group payment window is blank
- Ensure your integration keys in the Nexi Group app settings are correct and do not contain additional blank spaces.
- Temporarily deactivate third party plugins that might affect the functionality of the app.
- Check if there are any temporary technical inconsistencies: https://easy-status.developers.nets.eu/
Payments in live mode don't work
- Ensure you have an approved Live Checkout account for production.
- Ensure your Live Checkout account is approved for payments with the selected currency.
- Ensure payment method data is correct and supported by your Checkout agreement.